Module 2: How To Use Librarian
This automated content management function handles properly reordering the sequence of Modules (and their Lessons) or just Lessons and updating the overall document for you.
Step One: PREPARE

Open the Facilitator Guide or Participant Guide to be edited and verify the Modules and Lessons to be reordered
Go to your Table of Contents
Verify the names and current locations of the Modules or Lessons you need to reorder
Note that LeaderGuide Pro will preserve your open guidebook as is and create a new guidebook with your reordered Modules and Lessons
Key point:
It is always a Best Practice to manually Save a back up copy of any guidebook you are about to edit.
Here is an example of the Modules section in a Table of Contents in a Facilitator Guide.
Imagine that you want to:
Move the Ice Breaker Lesson to come before the Welcome Lesson in the Introduction Module.
Move the Technical Requirements Module to come before the Getting Started Module.

Step TWO: Reorder

In the open Guidebook that has content you need to Reorder, follow these steps …


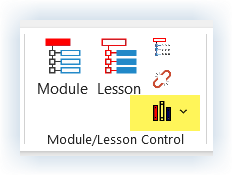

Click Librarian in the Module/Lesson Control group on the LeaderGuide Pro ribbon
Click Reorder Modules or Lessons in the Librarian drop-down menu

Librarian will create and display a copy of your Table of Contents as well as a placeholder for your reordered Table of Contents
Use the ADD and REMOVE buttons to set up your reordered Table of Contents
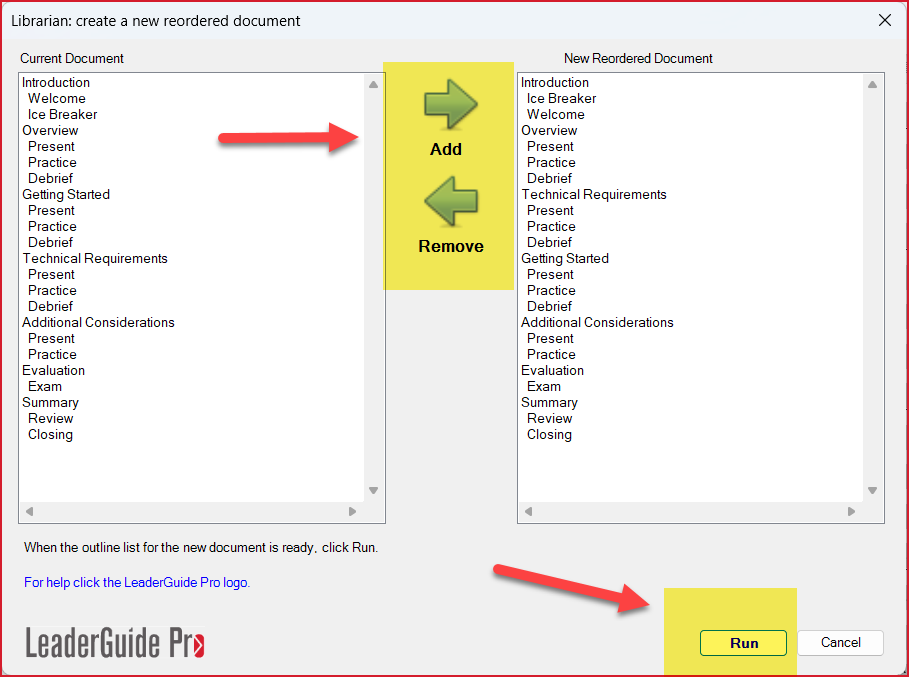
Working in a sequential order:
Highlight content to move from the left column to the right column
Use the ADD button to move content to the column on the right
Use the REMOVE button to eliminate content from the column on the right
Click RUN in the lower right corner of the dialog box to create your new, reordered guidebook
After you click RUN:
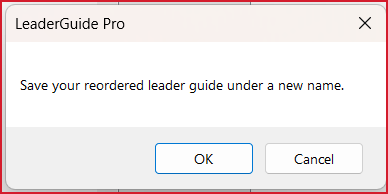
You will see a prompt to save your reordered guidebook with a new name
Click OK
You will be taken to File Explorer where you will Save your new file

After you SAVE your reordered guidebook:
Wait a moment while your reordered guidebook is set up for you
Your screen may jump and flash - this is normal
Next you will see the Reorder dialog box with a message telling you:
The reorder is complete.
Your original guidebook and your reordered guidebook are both open.
And suggesting that you check the page breaks between Lessons and the Transition blocks between Modules.
Click CLOSE in the lower right corner of the dialog box
After you click CLOSE:
Review your new document to make sure it is set up as you expected.
Start by comparing the Tables of Contents.
Next, check the page breaks and transition blocks.
Save your work.
-
Click here to learn about a built-in method or saving your LGPro files to Library folders that work well with Librarian.
One-on-One Assistance - Click to Schedule a Support Session
LeaderGuide Pro User Group - Click to Join