
Help - Scripter
This tool is located on the Home tab in Word
Overview
Scripter performs three major time saving functions to help you create, cleanup and print PowerPoint.
You can create or edit scripted PowerPoint slide content and slide notes from Microsoft 365 Word to reduce the time you spend on development and editing by 50% or more.
You can write slide notes for up to 3 target audiences: Presenter, Producer, Participant; and save them all in the same PowerPoint file.
You can create attractive, branded handouts from your PowerPoint files, in 18 unique layout options.
Key Points:
Scripter is an add-in to Word that allows you to create and edit PowerPoint files from Word, because writing and editing is easier to do and goes faster in Word.
As an alternative to starting a new PowerPoint file, with Scripter you can start from Word.
Starting from Word will help you concentrate on your message first, instead of being distracted by the look of your slides.
Technical Help
Create a New PowerPoint File from Scripter
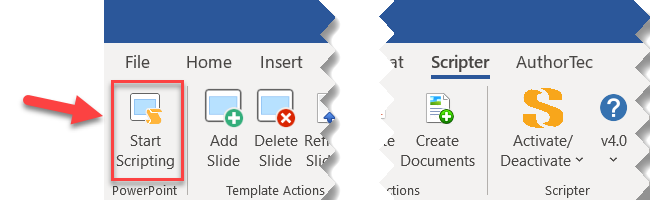
Click the “Start Scripting” button on the Scripter ribbon in Word.
This opens the Script PPT dialog.

Select the option to Start New from Word
Select the size of your slides
Click OK
About the Scripter PPT scripting template in Word

Clicking OK starts a new Word document with the Scripter scripting template
Save your new Scripter document.
Notice that the template is a 2-column table with 3-rows.
Do not add anymore columns.
Do not type in column 1.
About the rows:
The first row is a header row that repeats at the top of each new page.
The second row is a placeholder for your slide content.
The third row is a placeholder for the slide’s notes.

1. To start scripting your first slide:
Type in a slide title
Hit Enter on your keyboard and start adding the slide text
2. To add slide notes:
Move your cursor to the empty black paragraph mark in row 3
Start typing
Or, click one of the Target Audience buttons on the Scripter ribbon first, and then type
Formatting your Slide and Notes Text

To format your text
Place your cursor in a line of text
Click the format you want to apply, using the Text Formatting buttons on the Scripter ribbon:
Title
Text
Bullet
Number
Promote Bullet
Demote Bullet
Paste Unformatted
Restart Numbering
Assigning Target Audiences to your Slide Notes
To designate who your notes are for
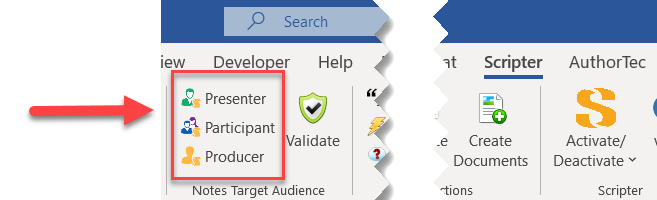
Use the Presenter, Producer, or Participant buttons on the Scripter ribbon
With your cursor in the Notes row, click the button for the target audience
Type your notes in between the two blue markers you will see
For example, to add Presenter Only notes:
Place your cursor by an empty black paragraph mark in the Notes row
Click the Presenter button on the Scripter ribbon
Type in your presenter notes in between the two blue markers you will see
If you have already added notes:
Highlight them
Click the Presenter (or other) target audience button
The Target Audience Markers will be added around your notes
You can add notes by audience in their logical order.
If you first need the presenter to do something, start with Presenter.
Then, if the Producer then needs to do something, click Producer and add those notes
Then, if the Presenter has more to do, click Presenter and add the notes

Adding a New Slide
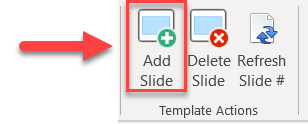
To add your next slide
Click the Add Slide button on the Scripter ribbon